One of the new features you will find in Beta 3 HCL Domino/Notes 12 is the integrated Backup and Restore. After installing this release, I tested this new functionality with a backup on my home NAS.
Backup and restore includes the following features:
- File system backup to disk or network drive.
- Support for circular transaction logging with full backup
- Support for archive transaction logging and incremental backup.
- Point in time restore leveraging transaction logs
- Incremental backup in combination with archive-style transaction log.
- Support for snapshot backup of file system: bring all databases into backup mode, take a snapshot, and back up the delta occurred during backup.
- Flexible restore options that include the ability to: bring database on-line, point in time recovery, disable replication, change replica ID, change title, disable all agents
- Recover documents and folders into the original database.
- Integrated DAOS to restore missing NLOs leveraging an existing file backup.
- Integration with backup solution vendors.
How to do it?
All configuration takes place in the database “dominobackup.nsf”. A database created the first time the Backup server task runs.
- On the Domino server console, run the command: load backup

- A DB dominobackup.nsf has now been created. After opening this DB, you can set the basic parameters for your environment in the configuration.
- You will find two sample backup settings for Windows and Linux in the database. I created my own settings according to the pattern for Windows. Before that, I created a backup directory on my NAS and mapped it to the test server as disk “B”.
- On the “Main” tab, I set the paths for saving the backup and the server that I will back up.
- On the “Backup” tab, I set what I want to back up with various parameters. I expect it to be more documented.I left the same by example for the first backup test.
- I set the “Restore” tab in a similar way as in the previous one.
- On the “Notification” tab, I have set the mail to be sent when finished or in case of an error to the “LocalDomainAdmins” group. I saved the settings.
- I started the backup on the Domino server console with “load backup -b” command. Of course, you can set this with the help of a program document for automatic start. The documentation lists several other commands for running a backup, such as transaction logs, snapshots, or the option to exclude some nsf from a backup.
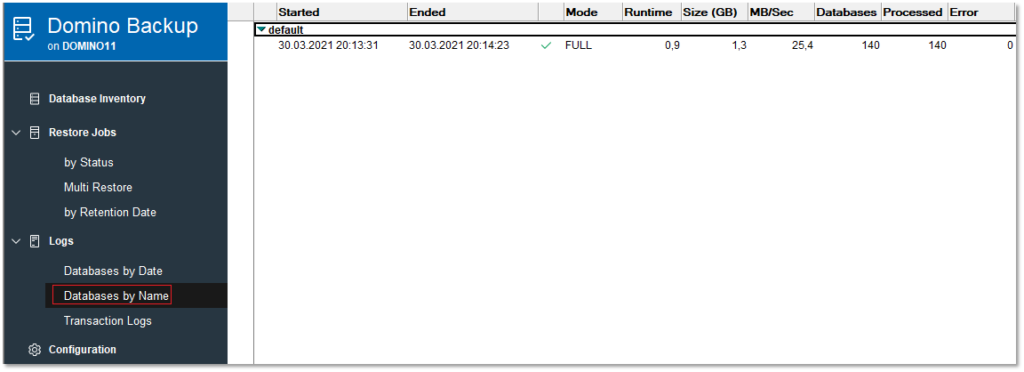
- After the backup is completed, you will find a record of the performed backup in the “Logs” view.


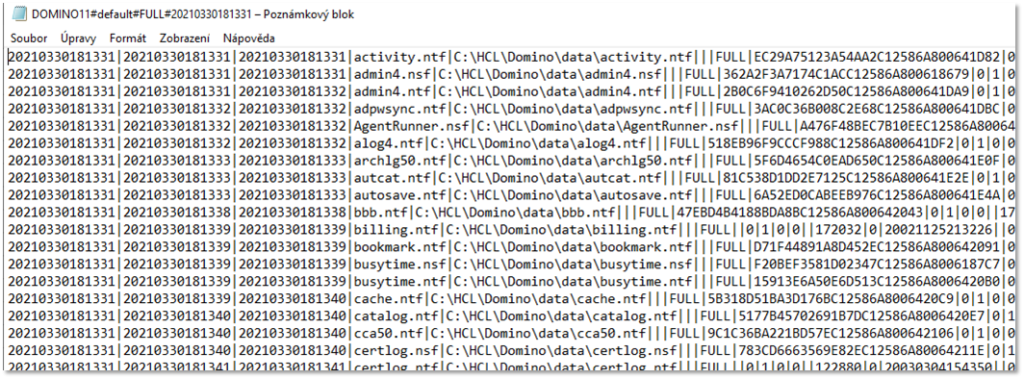
- In the “Inventory database” view you will find a list of backed up files.

- And because I set up to receive an email with a notification, I also found this mail in my mail nsf.
- And of course I found backed up files on my NAS. Great!
- And what about recovery? Did it work that simple as well?
- How did it go. in the “Database Inventory” view I chose the file “administ.nsf” for recovery. I checked the recovery path. The default is in the Data \ Restore directory on the Domino server. And he also choose from which backups I want to restore. And I also disabled replication so that I would not be replicated with the existing DB immediately after recovery and thus not get into the same state.
- Then I just checked everything and ran the restore task.
- The console showed that a restore was in progress, and when done, a log appeared with a link to the nsf restore, which was also in the “restore” directory.
What´s the result? Yes, it works. Simple, easy without complicated configuration. Yes, it was the first test if with a simple infrastructure. We will see how it will behave in a larger environment in a larger number of databases and a volume of data. However, the solution seems to be a very interesting step. Keep it up!


Thanks for sharing. Great write-up to get you started.
Nice article! Amazing work from Barry and the team!!